Colorizing Images and Photos With Stable Diffusion
Traditionally the photos were colored by retoucher either on the final photograph or in the case of movies directly on the developed film material. In digital editing software, you used to work with masks and filters. In this experimental tutorial, we will be using Stable Diffusion to colorize black-and-white photographs. Stable Diffusion is a powerful tool that can possibly produce high-quality and accurate colorization results. Follow along with this tutorial to learn how to use AI Stable Diffusion to colorize your own images. The example is using AUTOMATIC1111 web UI.
The Case of Mysterious Instruction: Coloring with a Prompt
This method creates an output similar to traditional coloring techniques.
This special model https://huggingface.co/timbrooks/instruct-pix2pix/tree/main lets you edit images directly from the prompt. Just load the image to img2img and write the command into a prompt like in a chat.
Elementary Example No.1
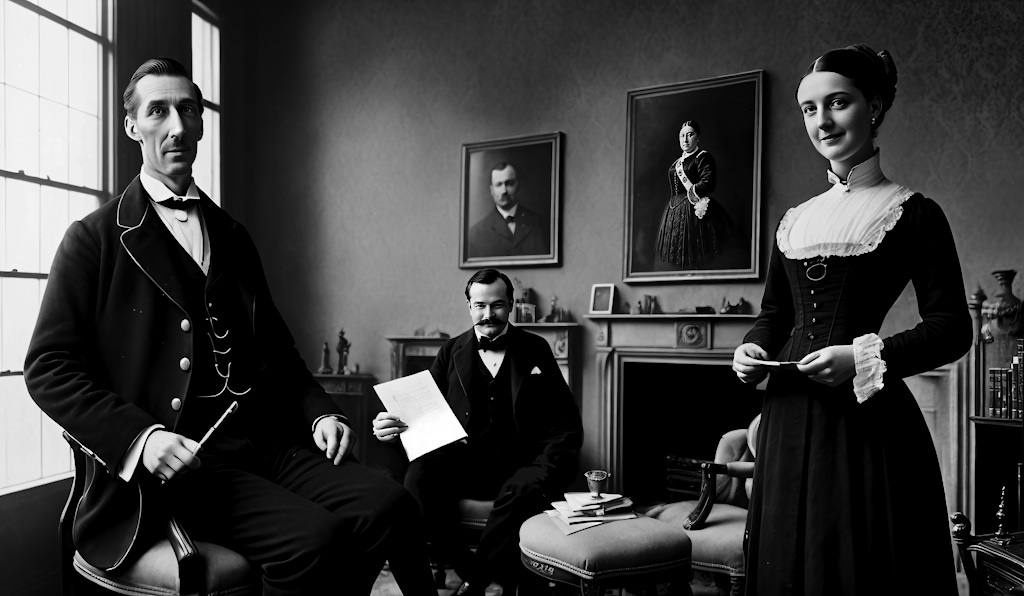
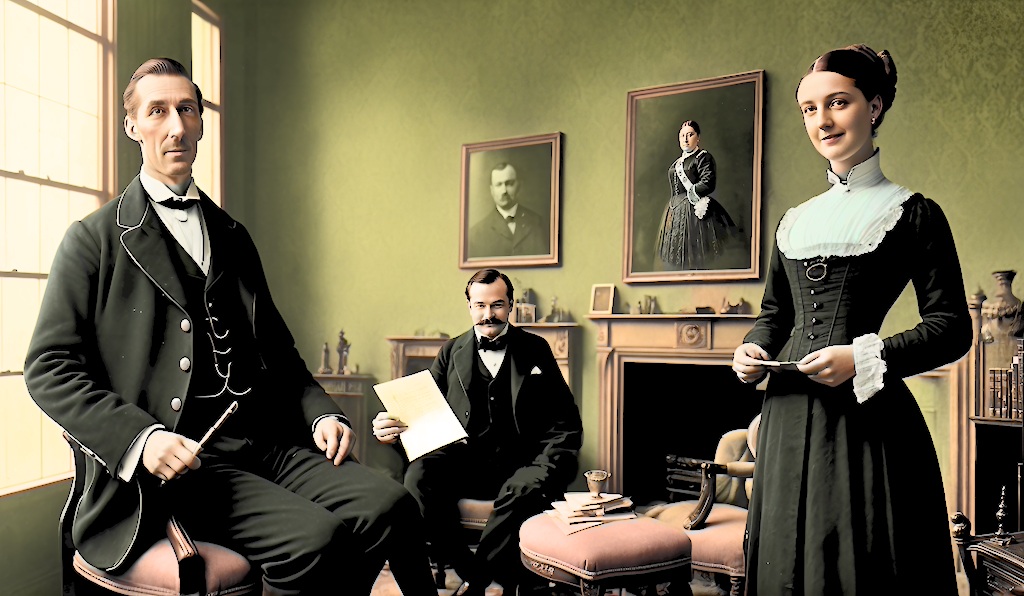
In the first example, we are going to get color information and use it to adjust the image in an image editor (in this case, Krita).
- Change your image size for Stable Diffusion (512x832, 512x768 etc.)
- Choose instruct-pix2pix model
- Select img2img tab and load your b&w image
- Experiment with prompts and settings
- Import original and colored images into Krita and put them into layers
- Experiment with blending modes
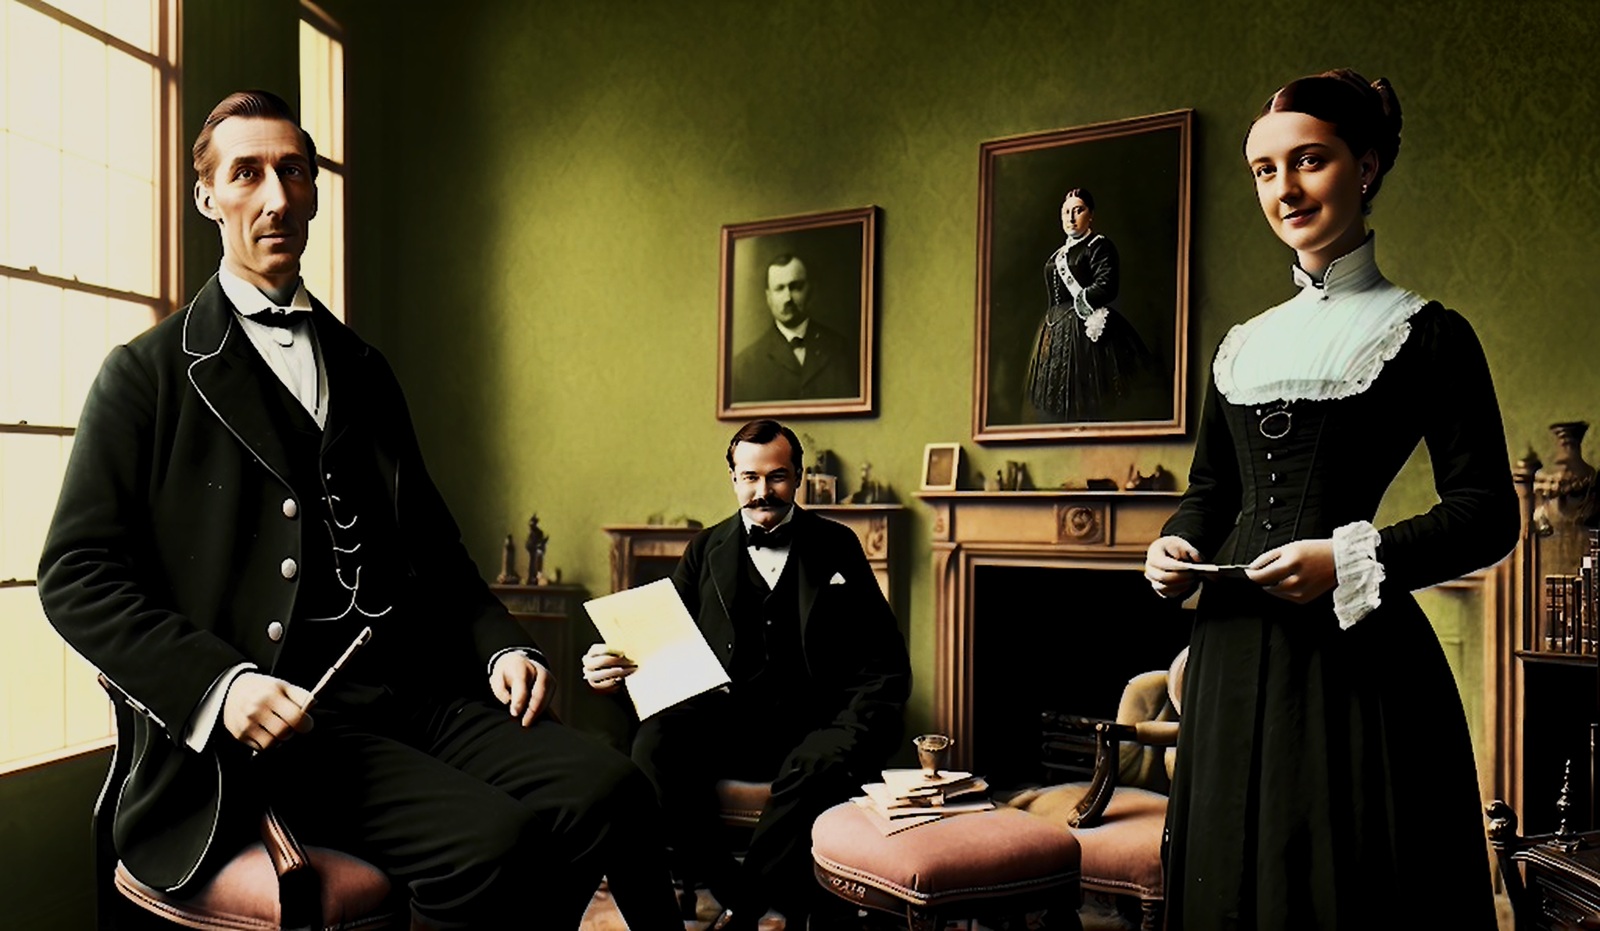
Notes to instruct-pix2pix: Change the Image CFG Scale (which now appeared next to CFG Scale) to something lower (f.i. 0.5, to see the result more clearly) and push Generate. CFG Scale number depends on how dramatic the change would be, the higher the subtler change. For color changes, it could be around 0.9—experiment and try to find the balance between Image CFG Scale and Denoising strength.
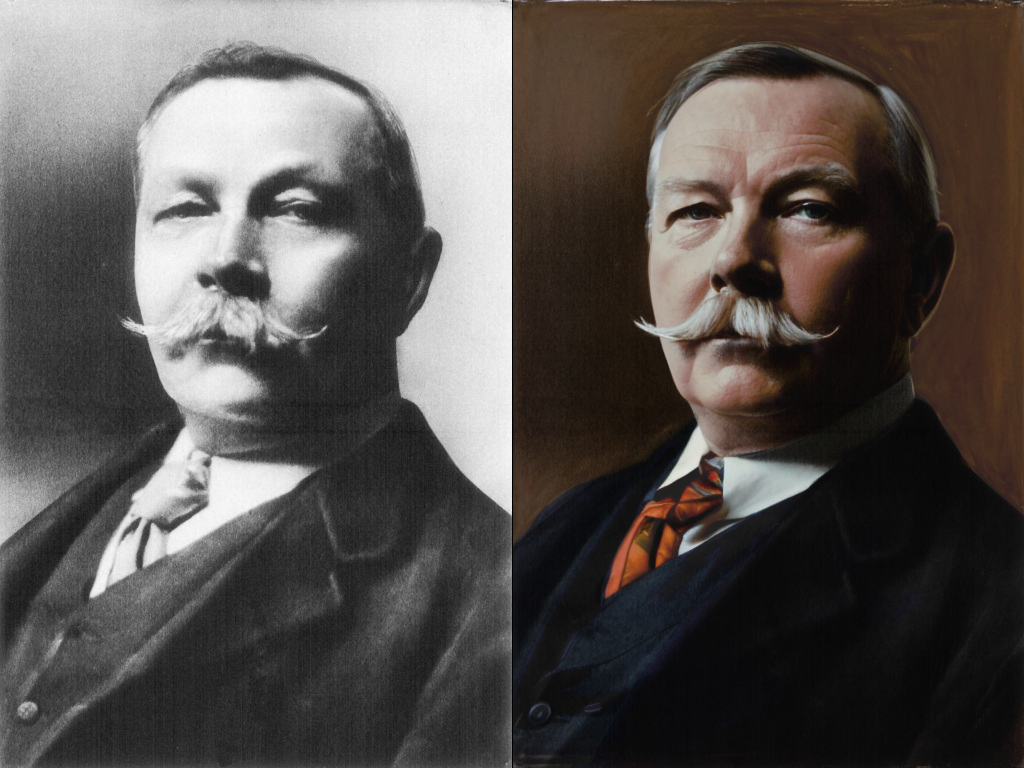
natural colors, studio photo, realistic victorian cloth

Steps: 20, Sampler: Euler a, CFG scale: 6, Image CFG scale: 1.1,
Seed: 161158975, Size: 1024x596, Model hash: fbc31a67aa, Denoising strength: 0.86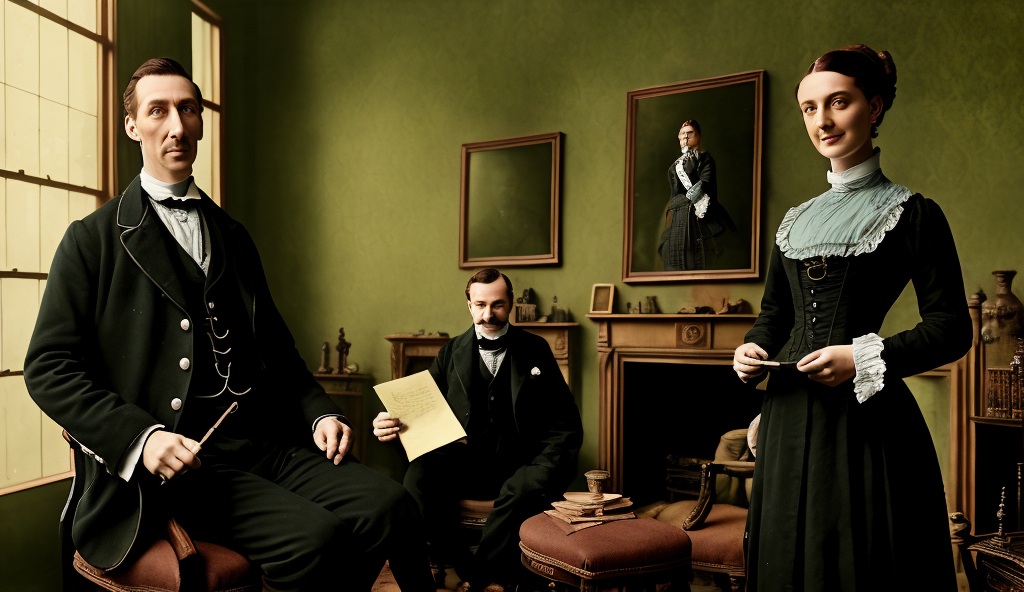

Layer styles which works best: Color, Color HSL, Multiply, Soft Light, Penumbra B, Overlay (for sharp contrasts). Do not forget to save the ICC profile.
We will continue and repeat this process until the image is finished.
Using Layers in Krita
We are using Krita, but you could use another famous graphic editor—GIMP, for instance. Just note, operations with layer blending modes lead to slightly different results in different software.
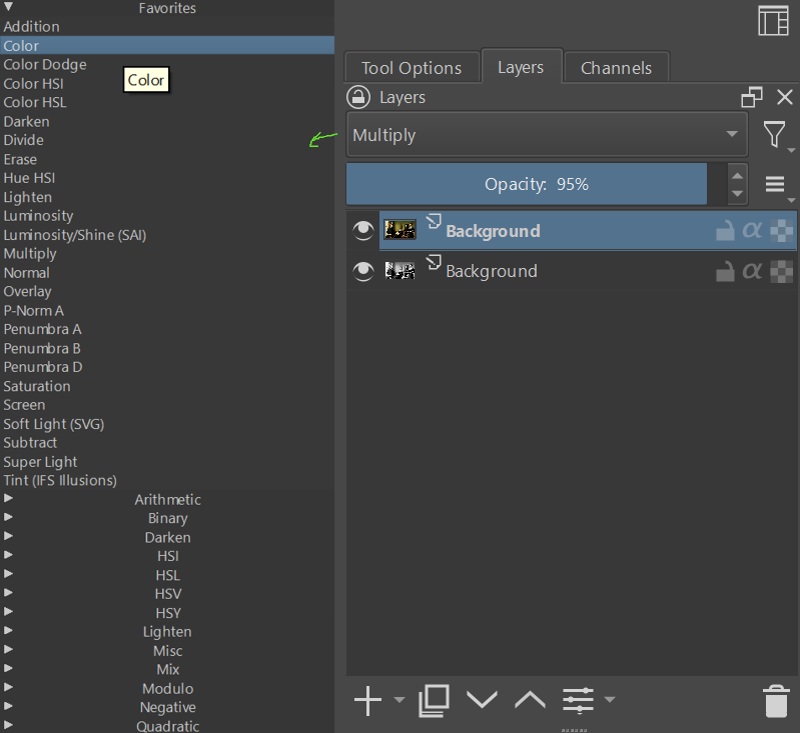
You will find layers in the top docker on the right, You have many options in for blending modes, and you can add more from the dropdown menu.
Elementary Example No.2
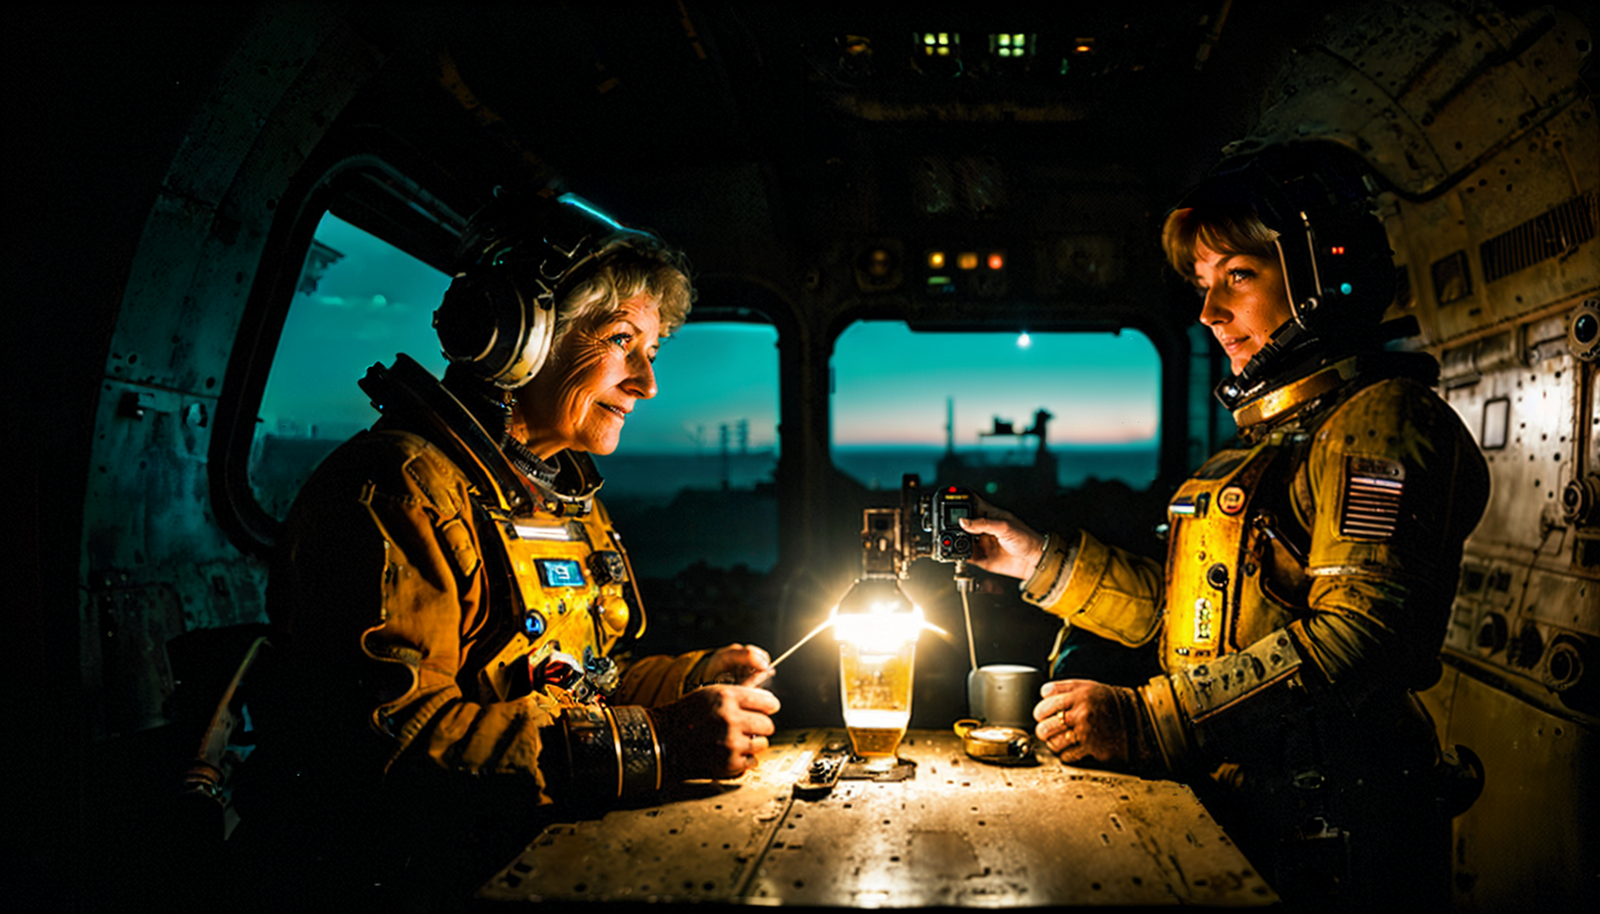
You may also experiment with offset diffusion Loras to adjust the tones. This image was colorized with this setup (without an additional editing or postprocessing):
make the image colorful, realistic colors, realism photography, natural
 <lora:rmadart3NoiseoffsetSD1_v10:0.75>
Steps: 20, Sampler: DPM++ 2M Karras, CFG scale: 7, Image CFG scale: 1.2,
Seed: 1903265704, Size: 512x768, Model hash: fbc31a67aa, Denoising strength: 0.96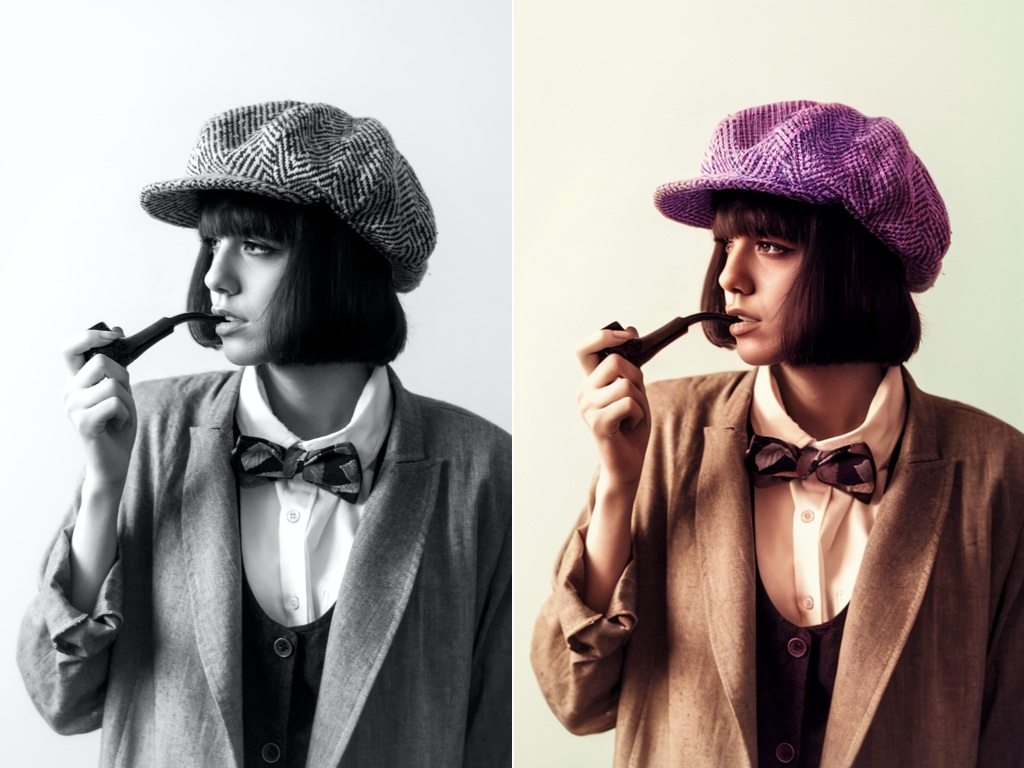
This method shows one strategy to achieve the effect. To get photorealistic results, a proper dedicated model or Lora needs to be trained for the task.
The Case of Self-fulfiling Coloring Book: Lineart Image
This method uses ControlNet to create a colored version of lineart image. You may choose any suitable model checkpoint.
Coloring the drawing.
- Create black or dark grey image in the size of your drawing
- Put it in img2img
- Use prompt describing the image
- Put the drawing into ControlNet
- Set Preprocessor to canny and Model to t2iadapter-canny or control_canny (more realistic results)
- Set Denoising strength to 0.95-0.99
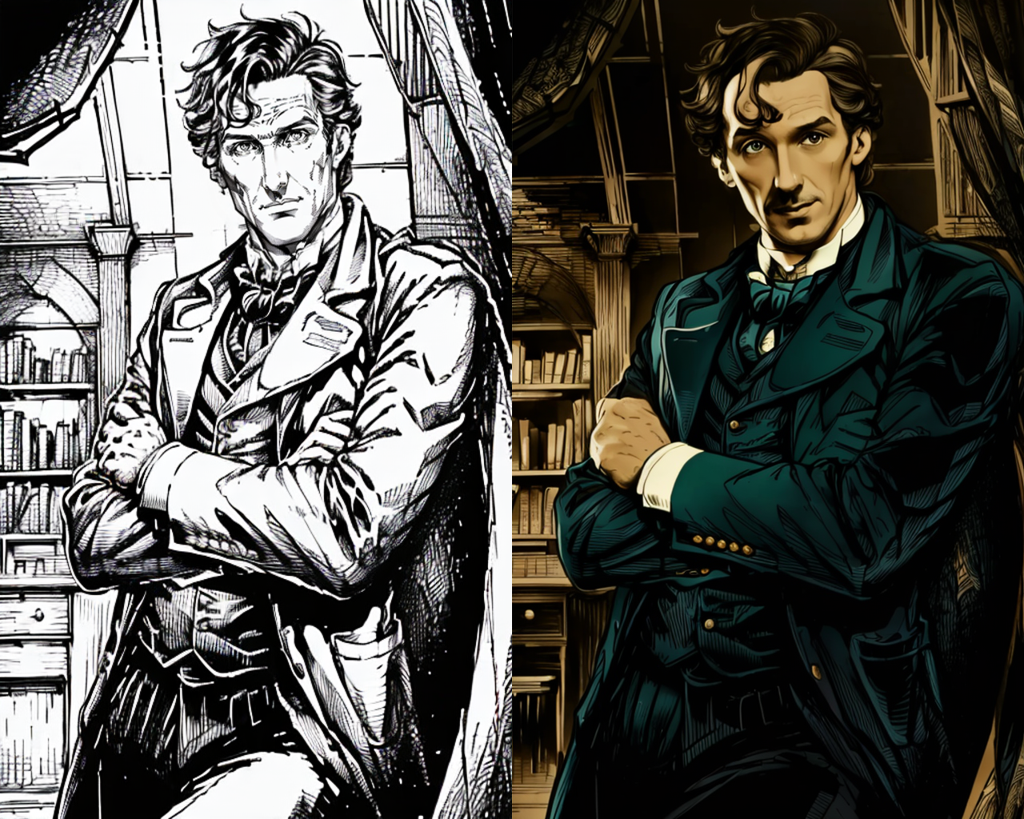
Use in combination with the previous method to experiment with colorized versions. By using tokens lineart image or black-white drawing (you can switch the styles back and forth to create a leading image for canny in ControlNet:
The Case of Intriquing Combinatorics: All Tricks from the Case-Book
- The resized image was used as input for canny ControlNet
- As input in img2img is set just darker grey rectangle
- Choose a model of your choice, for a photography preferably some focused on photography
- Work up from simple prompts:
colourful photo of (DESCRIPTION), natural light, realistic (SCENE OR OPTICS DEFINITIONS) - Experiment with Loras, offsetnoise and negative prompts
-
Denoising strength: 0.95, ControlNet-0 Enabled: True, ControlNet-0 Module: canny, ControlNet-0 Model: control_canny-fp16 [e3fe7712], ControlNet-0 Weight: 1, ControlNet-0 Guidance Start: 0, ControlNet-0 Guidance End: 1 - The colorized output from stable diffusion is used as the Multiply layer in Krita
- Levels are adjusted on both layers (Filter/Adjust/Levels, CTRL-L)
Sometimes the overlaying is not even needed, but it adds some level of realism.
Case of Patient Retoucher: Using Coloring Model or Lora
This method needs model trained for this task. Such model for Stable Diffusion usable with AUTOMATIC1111 is still in the works. As soon as I find a working one, this case gets updated.
Conclusion
Stable Diffusion is a powerful tool that can help you colorize old or black-and-white photographs with ease. By following this experimental tutorial, you have learned how to use AI Stable Diffusion to colorize your own images. With practice and experimentation, you can create interesting colorizations that breathe new life into old memories and moments—or completely change the mood in the image.