Create Atmospheric Effects in Stable Diffusion
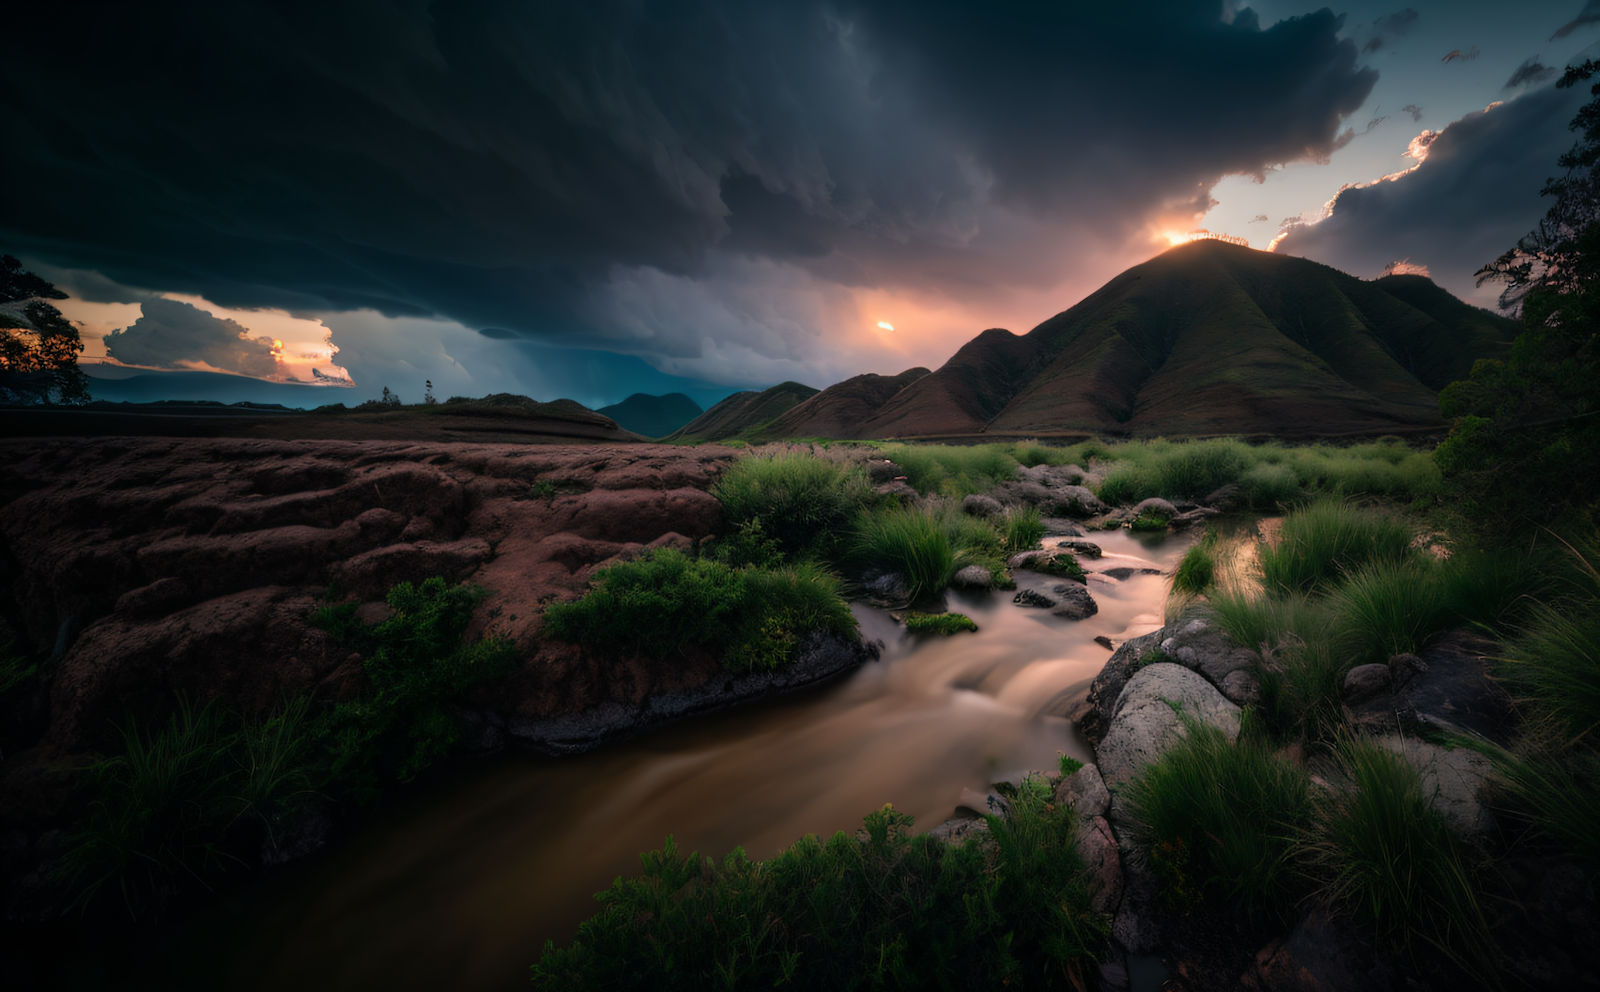
By using stable diffusion to process digital images or videos, you can create highly realistic and immersive atmospheric effects that enhance the mood and tone of your work. In this article, we will explore the concept of using ControlNet extension in stable diffusion and provide a step-by-step guide on how to use it to create atmospheric effects in digital art.
You will need open-source painting software Krita and AUTOMATIC1111 web UI with ControlNet extension ready (check my recent articles on how to install these) for the tutorial, the principles will apply to other software solutions as well.
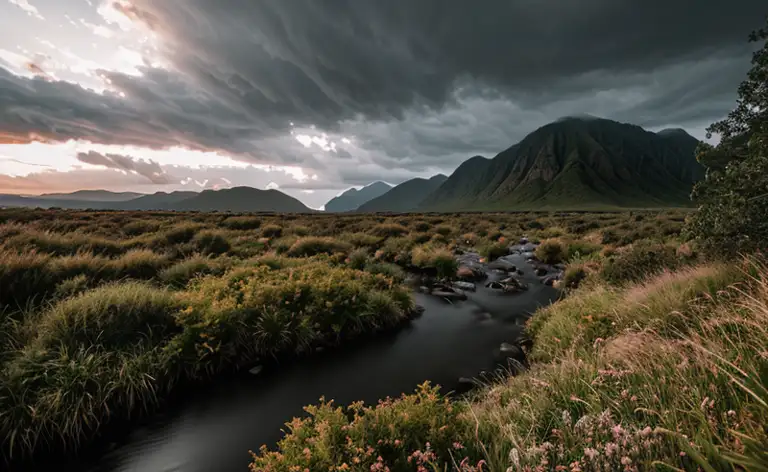
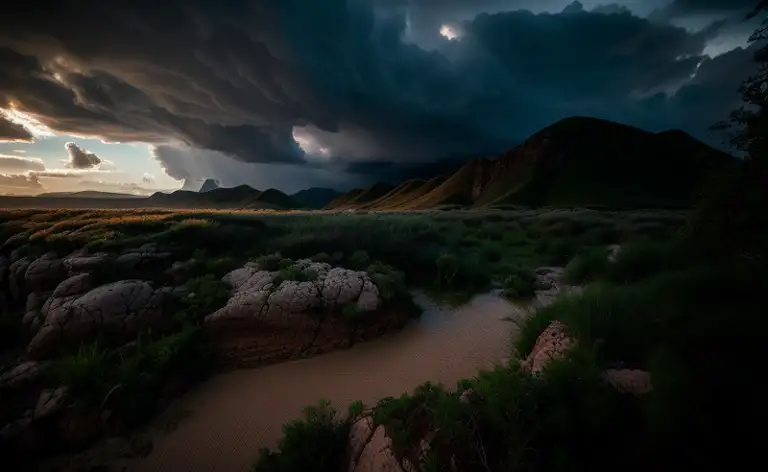
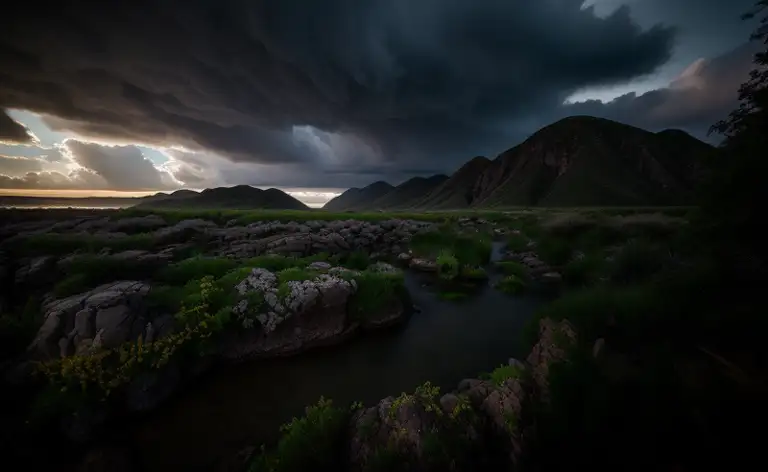
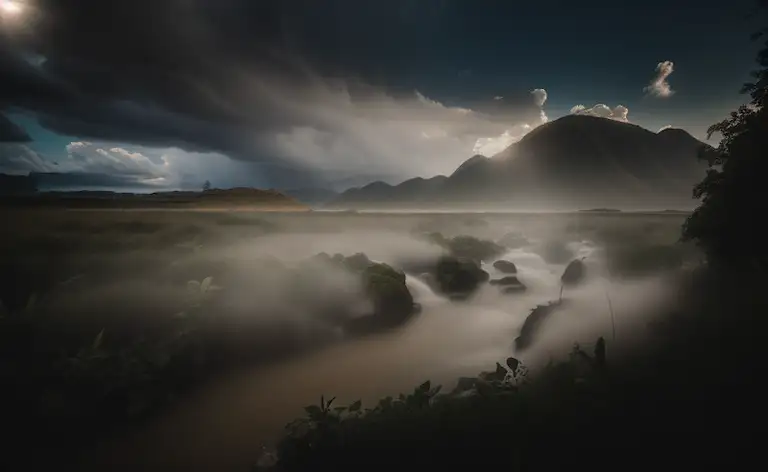
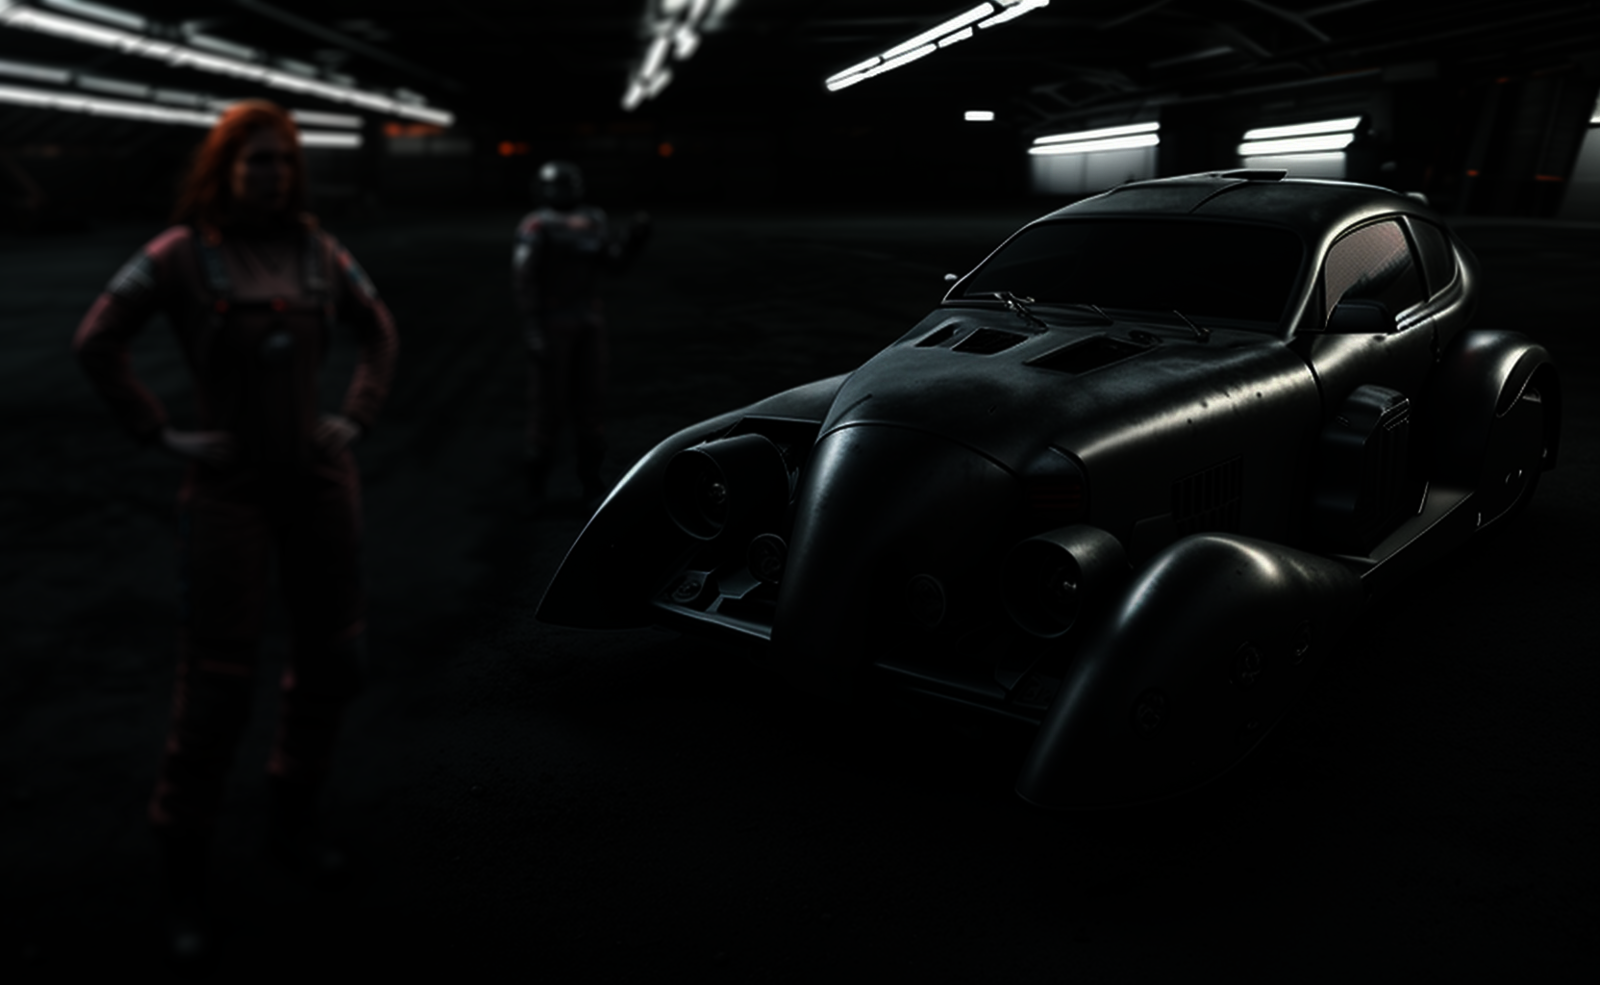
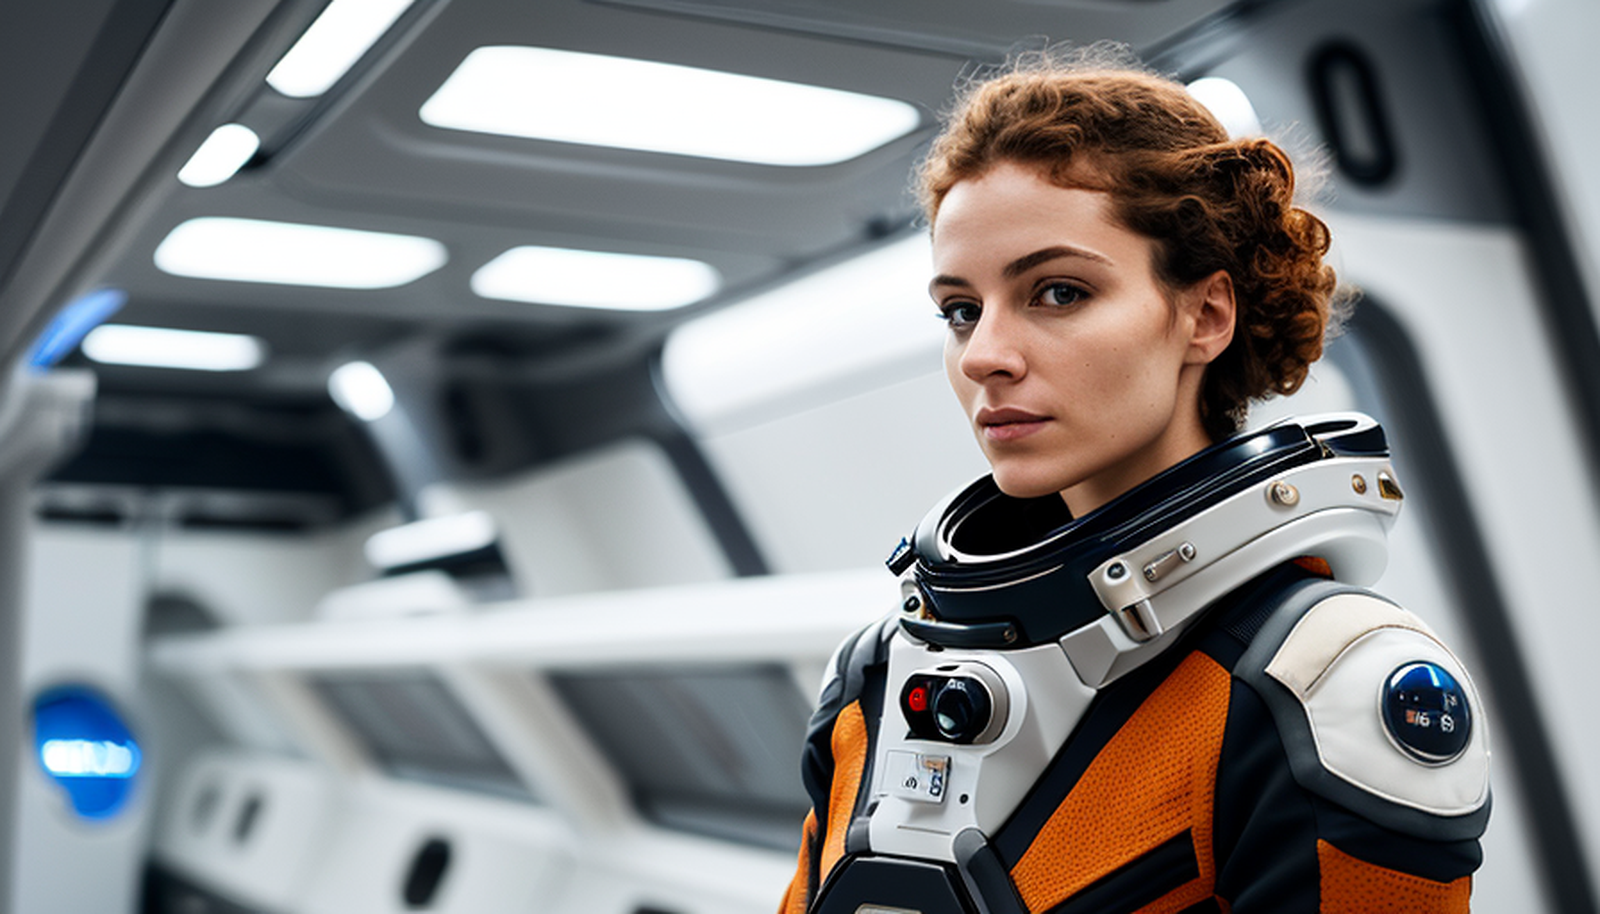
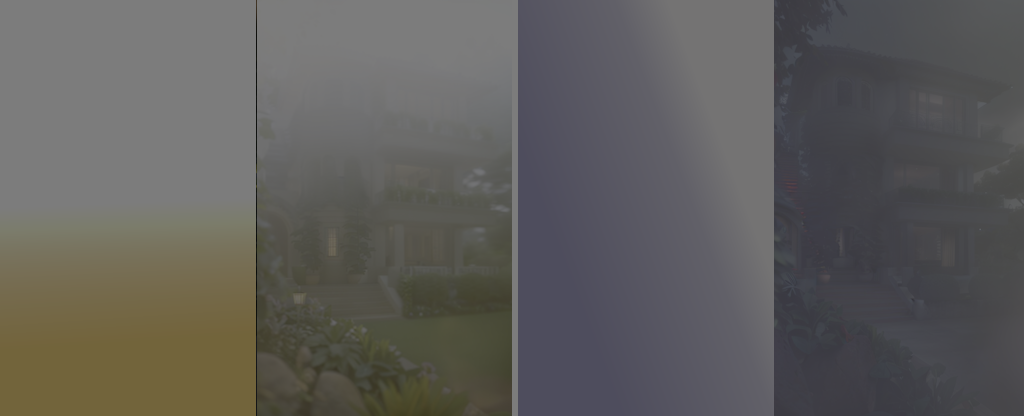
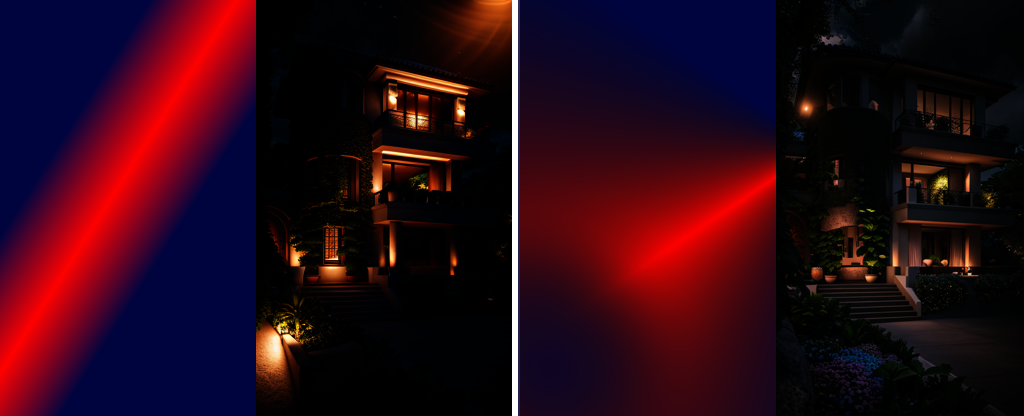
The described principle uses depth preprocessor and img2img to alter the output. Light layout is an image which controls the generation process. The outputs were generated with the same prompt as the original image, all changes are coming from the method.
Create the Light Layout in Krita
- Start Krita. Create the file (File/New/Custom Document), and set color space (Color/Depth) to 16-bit float/channel. You may choose the 512x512 size or the correct output size (f.i. 512x832) if the light setup would be specific to the image.
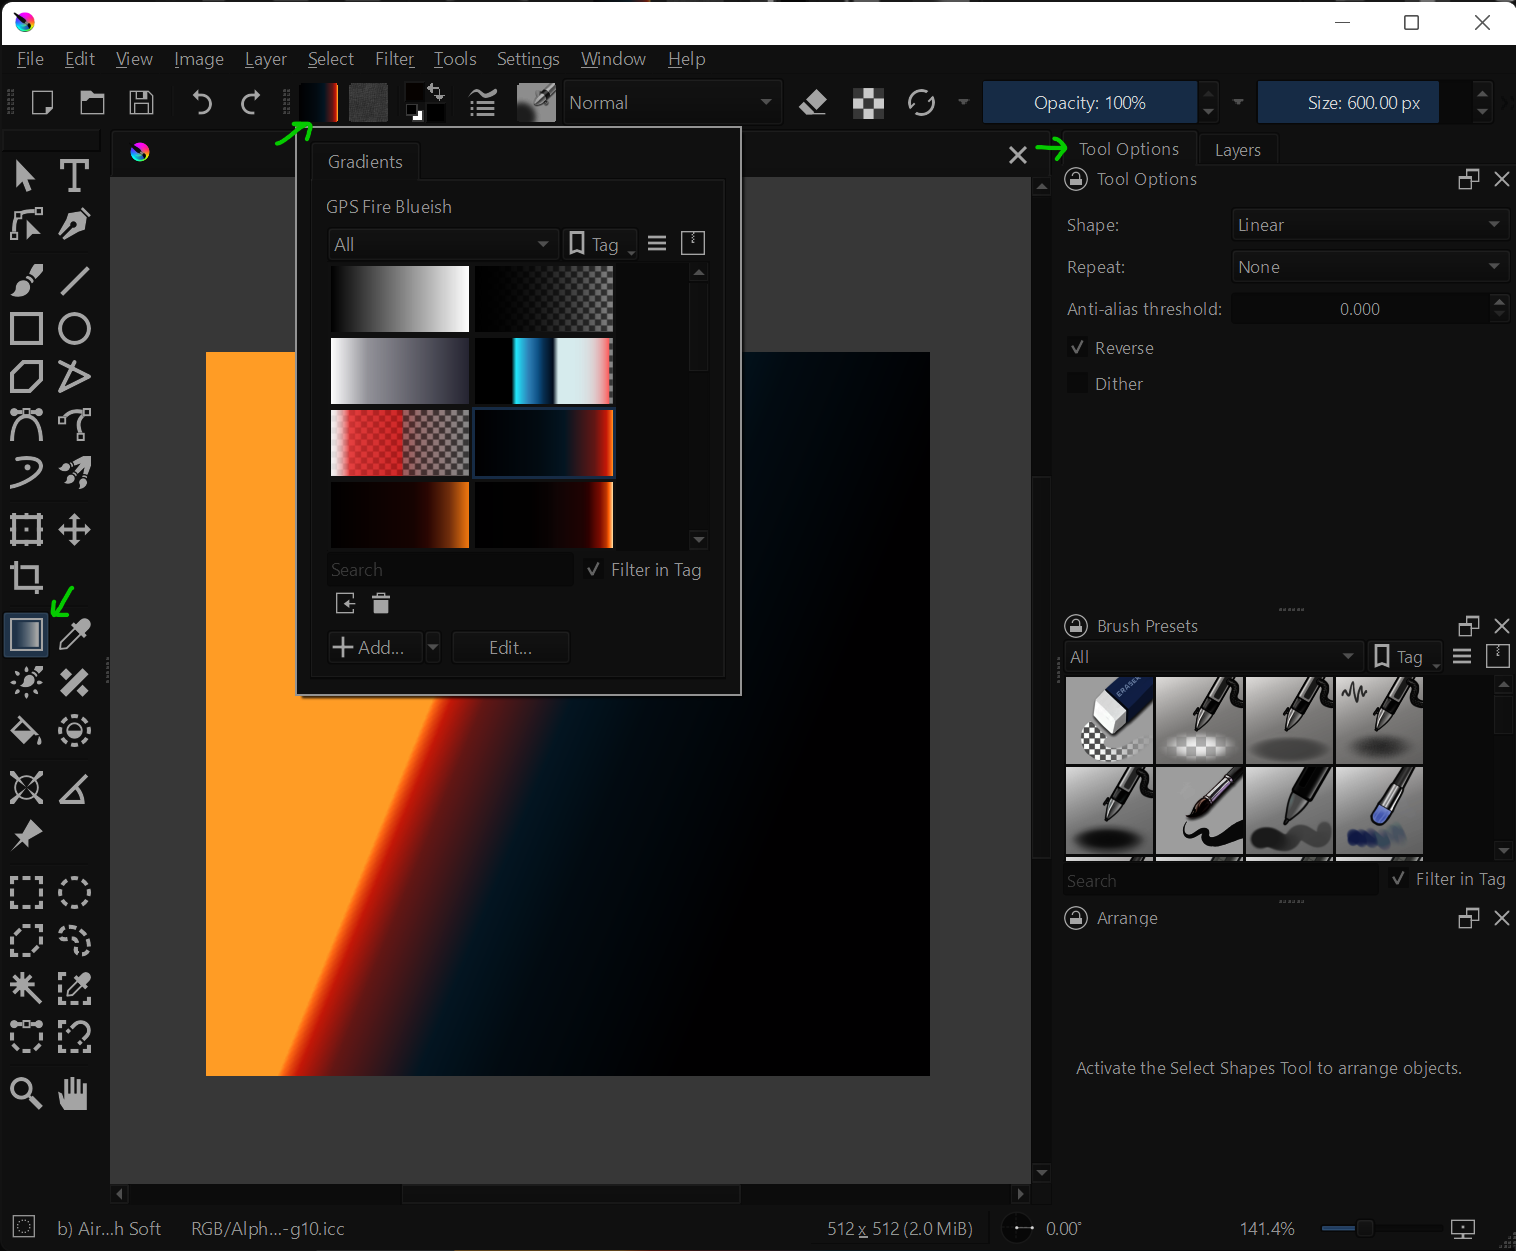
- Use the Draw a gradient tool (G). Choose a gradient or create your own.
- Take a look at Tool Options. Here you can change the gradient type. If you don't see it, turn the docker Settings -> Dockers -> Tool Options
- Export as .png (File/Export Advanced). Save as an HDR image (Rec. 2020 PQ) and also as a normal version for future experiments (HDR image creates a more subtle effect).
You may also paint the lights with the paintbrush tool or use exported light passes from a 3D application, or use another image as a source (preferably an abstract one).
Create the ControlNet Setup in Web UI
- Start AUTOMATIC1111 and check for extension updates.
- In img2img, insert your light image you have created in Krita as a main source.
- In the ControlNet tab, Enable Control Model-0 with Low VRAM and insert the source image for the 3D scene. Set preprocessor to depth_leres and Model to control_depth (preferably control_depth-fp16)
- Generate test image.
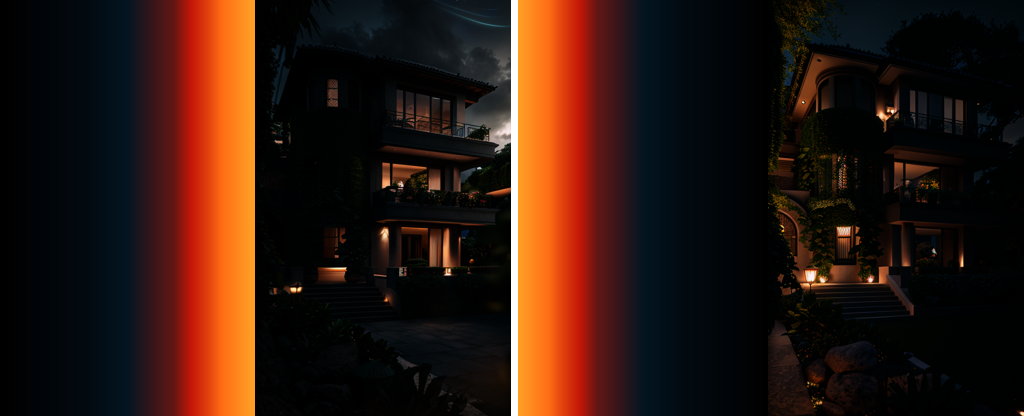
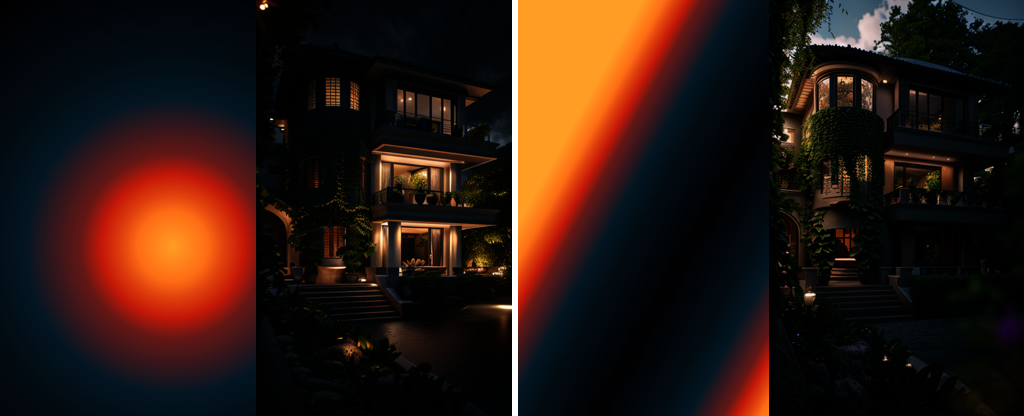
The "light layout" will affect the lightness and color tone of the output driven by information in the depth map. Non-HDR images will have a more pronounced effect on the output if you are going for a lo-fi feeling or more stylized lighting. HDR will create a more photographic image.
Tips for Experimenting
Adjust Denoising strength (the higher the number the lesser the influence, start with the default, and keep it around 0.8). Experiment with Guidance Start—this will affect how fast the ControlNet effect kicks in in the diffusion process (try 0.1-0.3).
Use Lora to Pronounce the Effect
Adjusts lightness and contrast for diffusion. Install by downloading the models into models/Lora. Activate by the icon under Generate button (Show extra networks), select Lora tab, Refresh the list and select the profile, it will insert the Lora token into the prompt.
- https://civitai.com/models/13941/epinoiseoffset
- https://civitai.com/models/8765/theovercomer8s-contrast-fix-sd15sd21-768 (both SD 1.5 and 2.1 versions)
This addition tends to nicely blend the effect into the image in some cases. And of course, prompt tokens will also affect the result, as well as a chosen theme.
Things to Be Aware Of
- It takes a lot of patience to get get the best results, especially for complex scenes. Do a batch of three at least to quickly test a concept.
- If you have enough VRAM, you may try to secure the composition with another ControlNet model.
- When dealing with organic textures, try to make the composition (and prompt) as clear as possible. With objects like clouds or trees stable diffusion tends to invent objects.
- Test the HDR image and standard image for a Light layout to see the difference (both are useful).
- Due to the nature of stable diffusion, the full power of the effect is often depending on the subject (and the main model).
- Simple light setups can be the most effective (try black and white lights or single color setup).
- Subtle changes often have a huge impact.
- Rules of design still apply.
Conclusion
Whether you are working with photographs, 3D renders, or purely digital artwork, stable diffusion algorithms can be applied to achieve stunning visual results. By experimenting with different parameters and settings, artists can tailor their use of stable diffusion to suit their specific artistic vision and style.
With the ability to generate a wide range of atmospheric and lighting effects, even at the current state of the technology, stable diffusion opens up new creative possibilities for artists across various mediums.
